This post is sponsored by Stasher. All thoughts and opinions are my own.
I enjoy cooking, but I love any trick that saves time on meal prep. Over the years I’ve developed a weekly routine that makes cooking easier and more enjoyable. One of my favorite kitchen tools are Stasher bags and bowls. Stasher products are reusable, food-grade silicone bags and bowls that come in lots of colors and sizes. They can store, freeze, organize, and even cook food (microwave, dishwasher, freezer, oven, and boil-safe). I’ve tried many uses for them and keep finding new ways to use them. The leak-free Pinch-Loc® seal does a great job keeping food fresh, which makes them perfect for snacks on the go and my kids’ lunches. They’re also easy to clean—just toss them in the dishwasher.
Beyond their many uses, I appreciate that Stashers are a more eco-friendly option than single-use plastic bags. Sadly, 91% of all plastic is never recycled; much of it ends up in oceans and landfills and can take 500 years to break down. One Stasher bag replaces about 260 single-use plastic bags a year, cutting down on waste and reducing cleanup needs for waterways. Over time they also save money by replacing disposable containers and wraps.
Here are some of my favorite ways to use Stashers in the kitchen to save time, money, and reduce waste. These hacks make meal prep faster, help prevent food waste, and cut back on single-use plastics.
10 Ways to Use Stashers in the Kitchen to Save Time, Money and the Planet
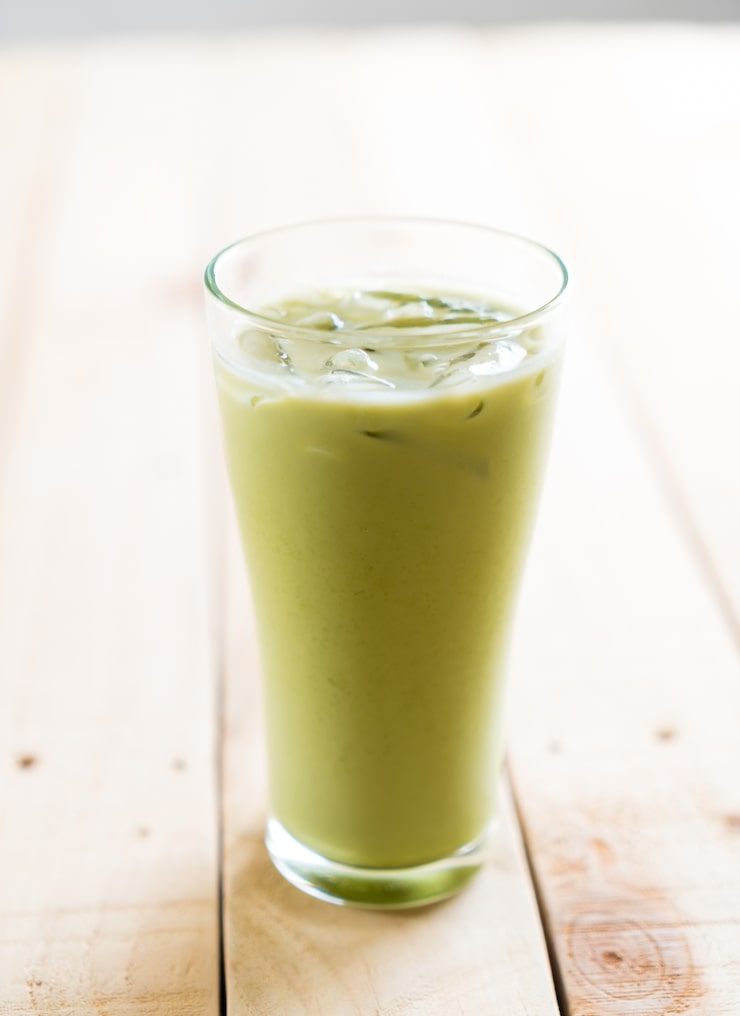
1) Smoothie Packs
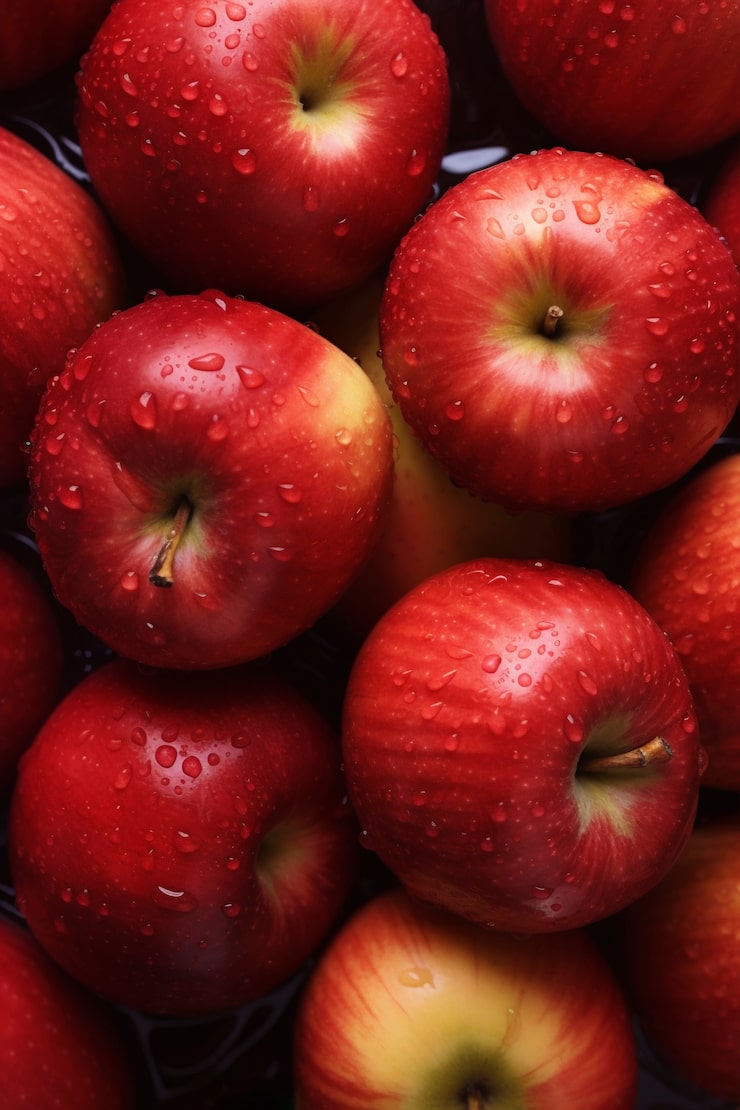
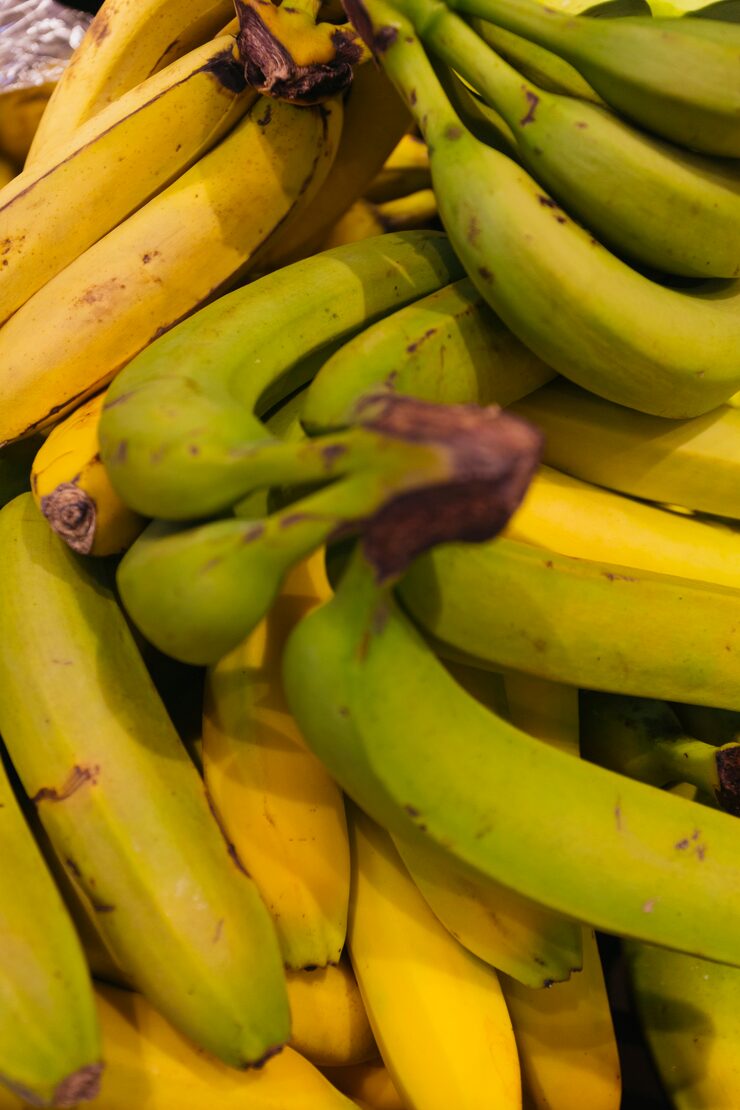
If fruit is getting overripe, freeze it instead of tossing it. Browning bananas and berries are perfect for smoothie packs or baking. Sandwich-size bags are great for individual smoothie portions—just add your fruits and veggies, freeze, then pour into a blender with liquid when ready.
You can also freeze vegetable scraps (celery tops, onion ends, carrot pieces) to use later for soup stock.
Freezing tips:
– Cut produce into similar-sized pieces and freeze them on a baking sheet. Once frozen, transfer to a Stasher bag.
– If you skip the pre-freeze, put produce directly into the bag; pieces may stick, but the flexible bags can be bent to separate them.
– Store packs flat in the freezer to save space.
2) Easy On-The-Go Meals
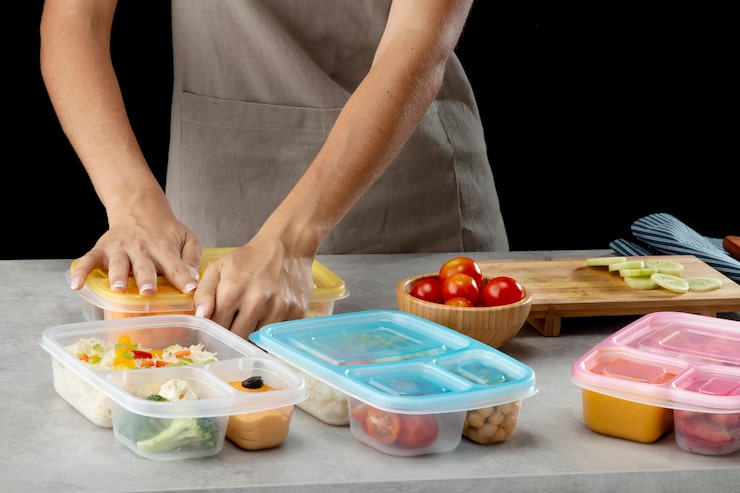
Pack your own lunches to save money and eat healthier. The 2-cup bowls are my favorite—they’re the right size for meals, can be heated safely, and stand up for easy transport. I make shrimp quinoa bowls (quinoa, shrimp, vinaigrette, veggies) in bulk—sealed in the fridge they last up to 4 days.
Snack bags are perfect for school breaks, and sandwich bags are a great alternative to disposable plastic. I love cutting down on daily waste and teaching my kids to be more mindful.
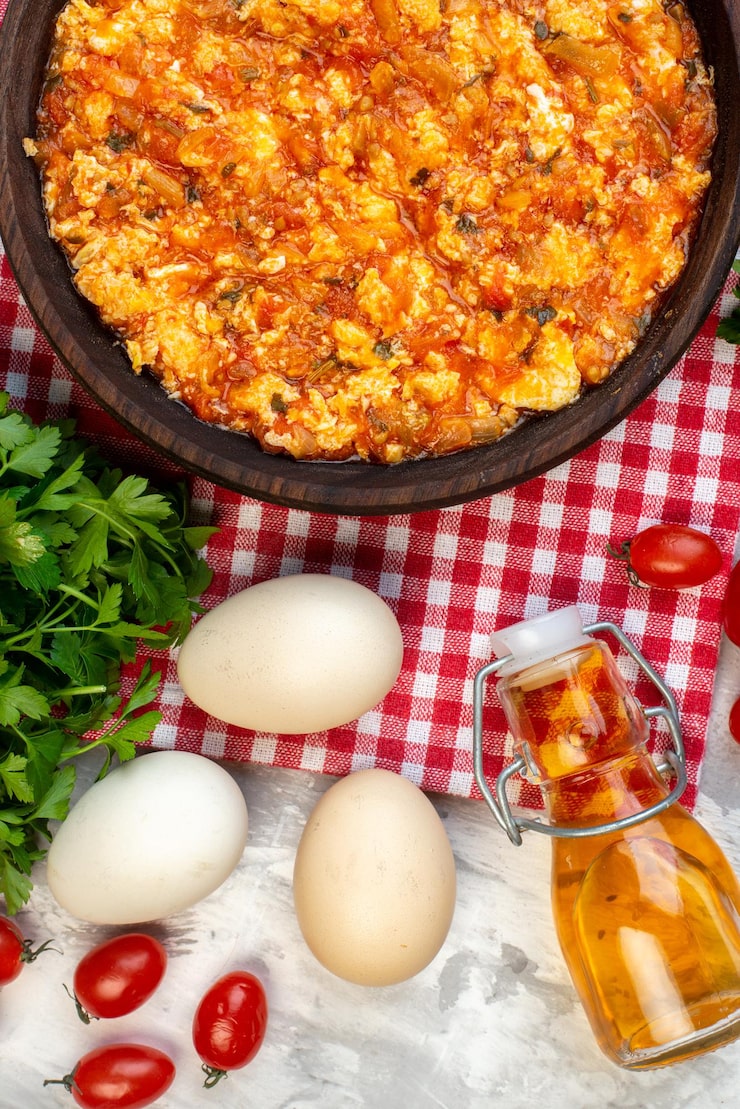
3) Store Fresh Fruit & Vegetables
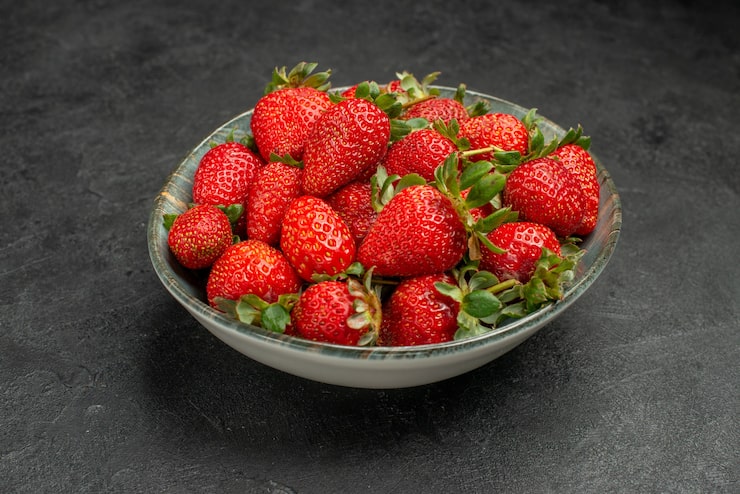
Fruit and veggies last longer when you clean and store them properly. As soon as I buy berries, I rinse, cut, and put them in a stand-up Stasher bag in the fridge. For broccoli and cauliflower, wash and dry well before cutting and store with as much air removed as possible. Seeing everything ready to use makes it more likely to be eaten before it goes bad.
4) Steam Vegetables
Stashers are safe for oven, microwave, and boiling, so they’re great for steaming vegetables. For microwave steaming, add a tablespoon of water, seal the bag about 90% (leave a small gap to vent), and cook until veggies reach your desired tenderness. For more tips, Stasher’s site has helpful info.
5) Bulk Storage
Buying in bulk saves money and reduces packaging. I store bulk items in Stasher bags so my pantry is easy to see. The large 8-cup bowls are great for oats and grains, and the mid stand-up bags work well for nuts because they hold themselves up and have a wider seal.
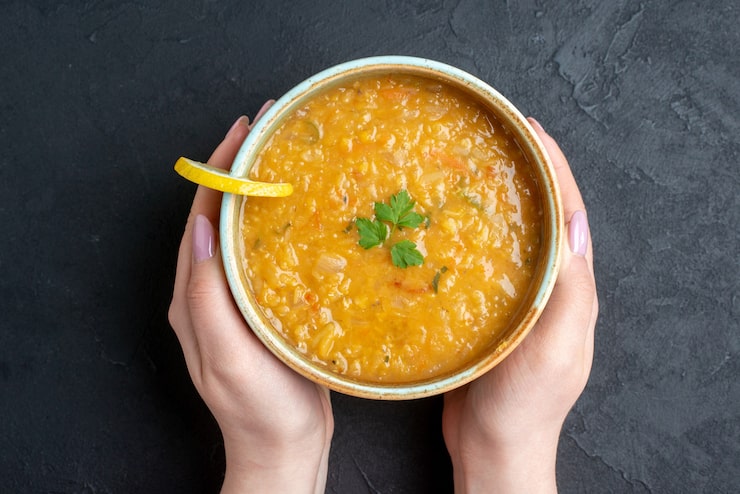
6) Portion Frozen Meals
I like portioning leftovers into single servings to freeze and grab for quick meals. Soups are perfect for this—thaw a serving and reheat in a pot of boiling water.
7) Freeze and Store Leftover Herbs
Don’t let herbs go bad—freeze them for later use:
– Wash and dry herbs.
– Chop to the size you want.
– Put chopped herbs in ice cube trays (don’t overfill).
– Pour olive oil to cover.
– Freeze, then remove the cubes and store in a Stasher bag for up to 6 months.
– Add cubes to hot dishes; if adding to a cold dish, thaw first.
Tip: Label bags with a chalk or dry-erase marker on the matte side.
8) Farmers Market Purchases
Skip the plastic produce bags at the farmers market—bring a Stasher bag instead.
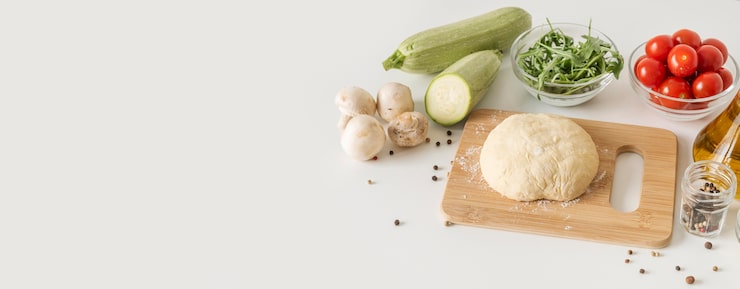
9) Rehydrate Stale Bread
Revive crusty or stale bread in the oven. Preheat to 375°F. Lightly wet the bread’s surface, place it in a Stasher bag, seal with a small crack for steam to escape, and bake on a pan for 6–8 minutes. Open and enjoy.
10) Make Popcorn
You can easily make microwave popcorn in a Stasher bag. Use a stand-up bag for best results.
What you need:
– 1/2 cup popcorn kernels
– 1/2 tablespoon olive oil
– Salt and seasonings
How to:
– Put kernels and oil into the bag.
– Close but leave a small vent. Microwave on high for 2–3 minutes until popping slows.
– Use oven mitts to remove the hot bag.
– Open carefully, add salt and seasonings, close, and shake to coat.
Outside the kitchen, Stasher bags have many uses and are an easy sustainable swap to cut plastic waste. For more ideas and sustainability tips, check out Stasher’s blog.
Use code MOMMYGONEHEALTHY15 to save 15% at Stasherbag.com.
Spread the love